Quality
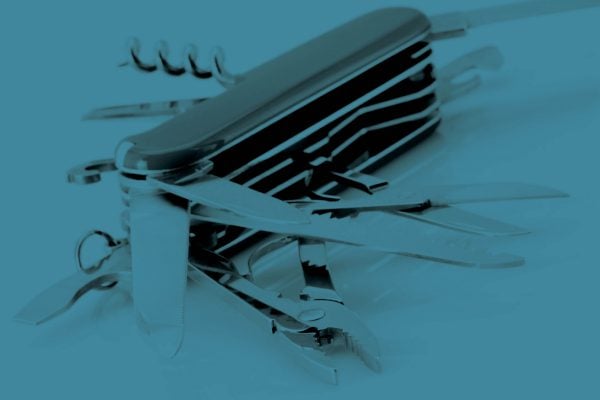
The Swiss Army Knife of Manufacturing
June 22, 2020
What works in 3D printing might fail in tooling.
Just because you can print it doesn’t mean you can manufacture it.
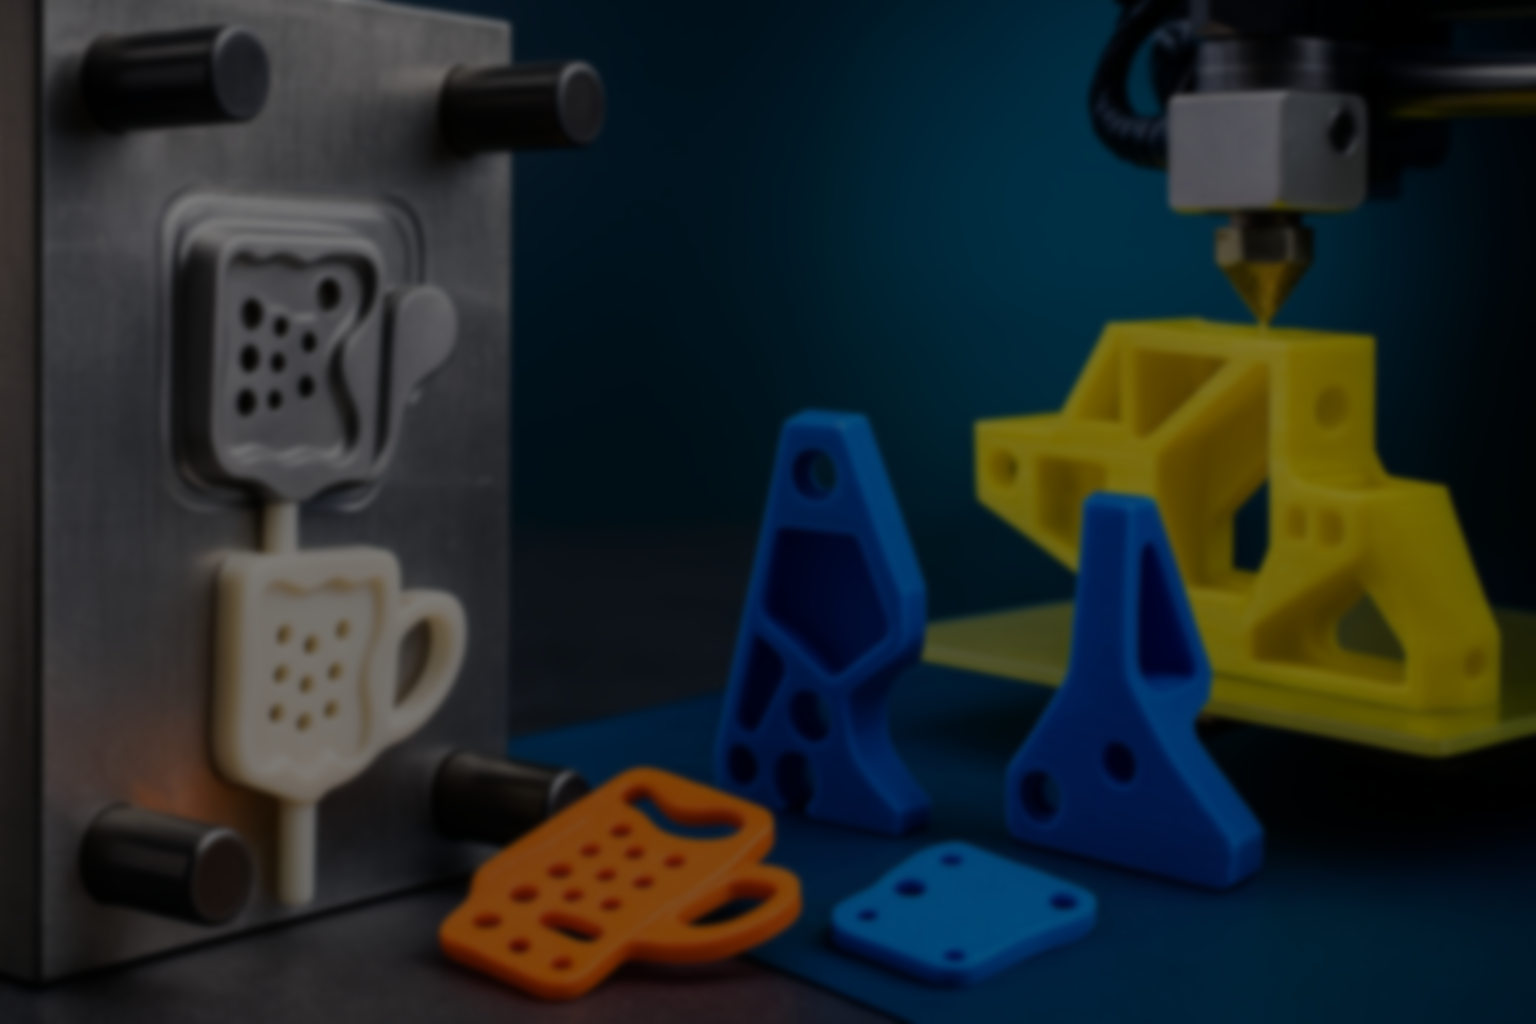
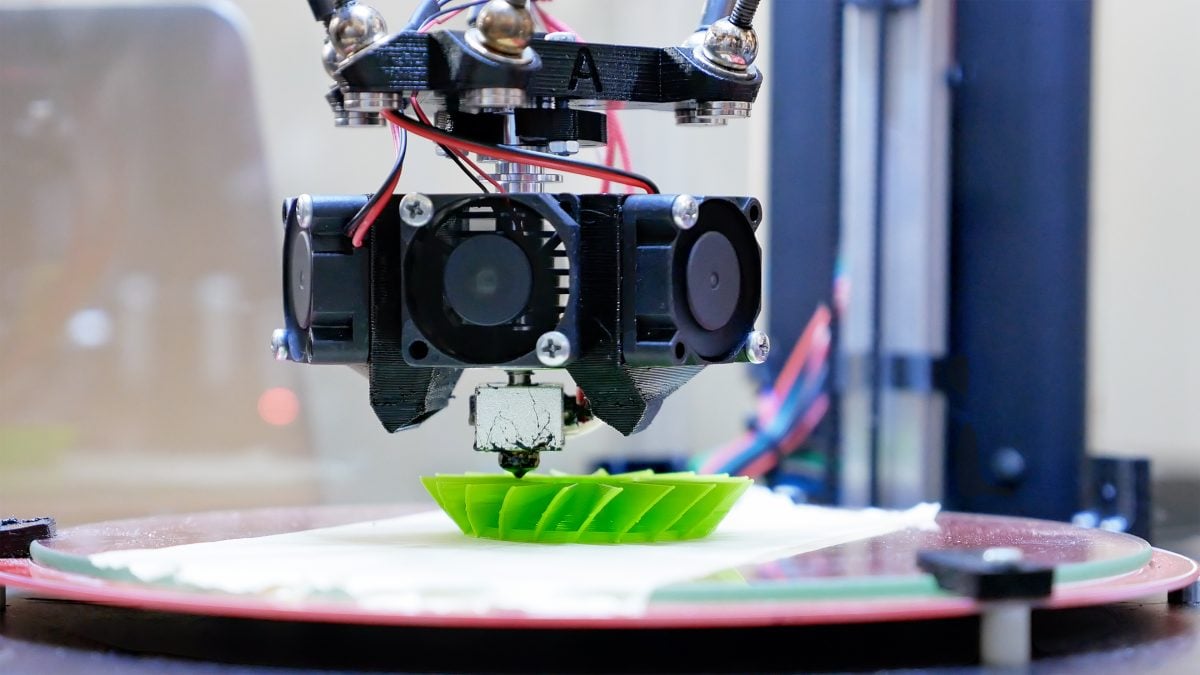
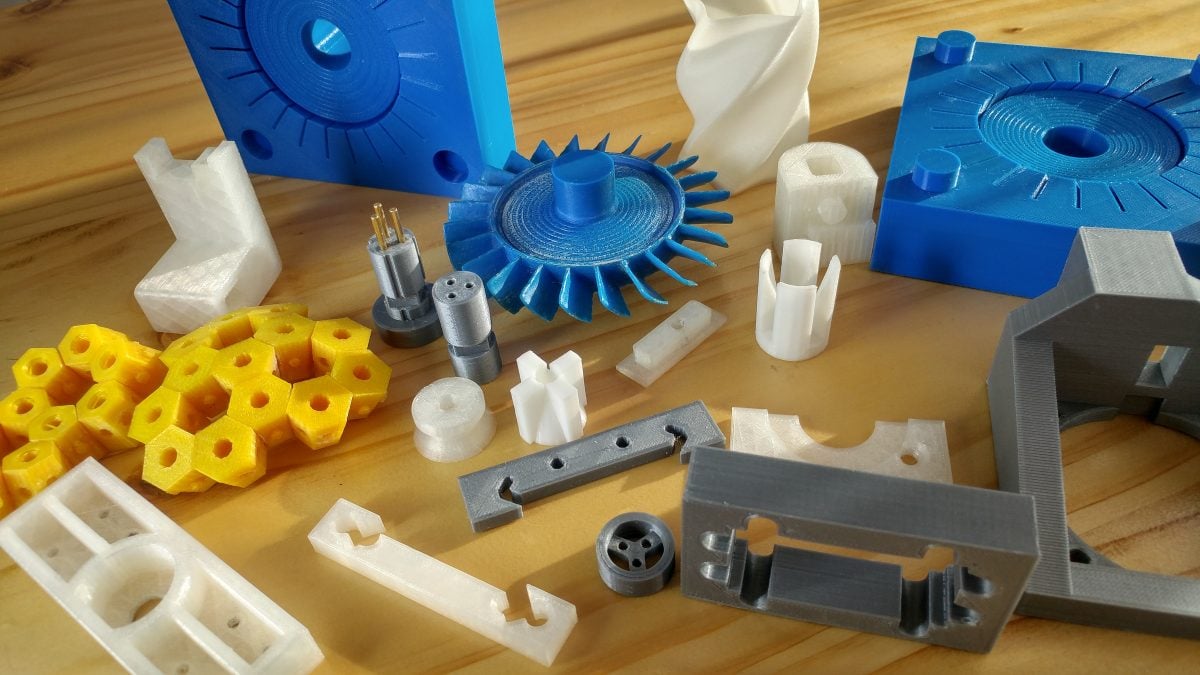
Additive manufacturing methods like FDM, SLA, DLP, SLS, and DMLS allow for nearly any geometry—undercuts, zero drafts, built-in assemblies, organic shapes. But those features don’t always translate to traditional production methods like injection molding or CNC machining.
When designing a part, consider the process you’re ultimately moving toward—whether it’s injection molding, vacuum forming, metal stamping, CNC machining, or die casting. Each method comes with its own constraints, such as minimum wall thickness, draft angle requirements, or tooling limitations. Choosing the right design approach for the right process will save time, cost, and frustration down the line.
It’s risky to assume your prototype tolerances will carry over to production. Every manufacturing method—whether additive or traditional—has its own tolerance range. For example:
That’s why it’s essential to align your design with the tolerance capabilities of your final process—not just your prototype.
Clearance matters, too—especially between mating parts. For prototypes, you may need different wall thicknesses, reinforcement features, or material properties (known as Design for Prototype). For production, Design for Manufacturing comes into play, where you account for draft angles, tooling complexity, and manufacturable geometry. A good design balances both sides of that equation.
A prototype that fits perfectly doesn’t mean your production parts will. You may have tweaked and tuned your 3D-printed model over several iterations—but that’s hard to replicate at scale.
Production introduces new variables: material behavior, thermal dynamics, tool wear, and machine repeatability. Designing for a tight, “line-to-line” fit might work once but can cause trouble in a 5,000-part run.
Instead, allow for reasonable clearance, leave room for tooling adjustments, and reduce the risk of delays or rework at launch.
3D printing offers a wide variety of materials—but not all are suitable for full-scale production. Some processes use production-grade plastics and metals, while others rely on lookalike materials meant only for visual or functional approximation.
Before locking in a prototype material, ask: Are we testing form, function, or both? Does this material behave like the one we’ll use in production? A specialty resin might be great for a one-off, but it could be too expensive or hard to source at scale.
Confirm your materials are viable for production before moving forward—or risk surprises when it’s time to scale.
Just because something is easy to 3D print doesn’t mean it’s easy—or affordable—to manufacture.
Designs with complex undercuts, deep cores, or intricate features may require expensive tooling and machining operations:
Want your design to survive the jump to production?
Early alignment with manufacturing constraints helps avoid redesigns and costly surprises.
You’ve nailed the prototype—now let’s build it for the real world.
Prismier makes the transition fast, smooth, and production-ready.
Talk to our team