
Quality
The Swiss Army Knife of Manufacturing
June 22, 2020
We’ve seen that metal parts need some post-processing love. But what about those made of plastic?
In our initial Finishing Friday blog post, Finishing Friday: Shine On, we discussed some of the secondary finishing operations available for metal parts. These include tumbling, heat-treating, plating, part marking, and more, all of which serve to make your parts and products more durable, more attractive, or both.
Here we’ll address that other all-important material group, polymers. Granted, there are fewer post-processing options with polymer parts (a.k.a. those made of plastic) than those made of steel or aluminum, but there are still several important topics you’ll want to understand.
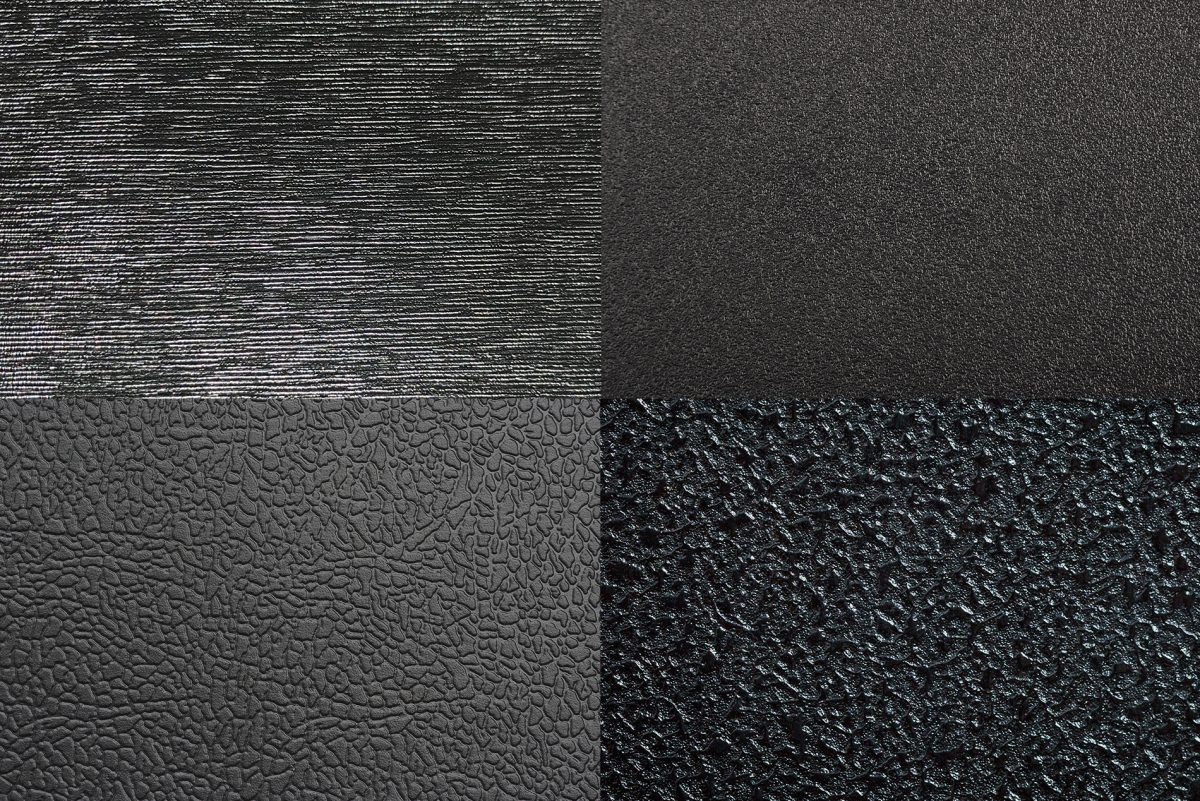
Before we dive in, it’s important to note that plastic injection mold texturing is not actually a secondary process—in fact, it’s anything but “after the fact.” The decision to impart a textured surface to any molded part should be made early in the design process, thus assuring that the mold is built with the correct draft angles so that the textured surface will not interfere with part ejection. Often, though, a mold is created and even run pre-textured, holding off on plans to texture until after testing the dimensional accuracy of the parts. Once that testing phase is complete, the mold is unassembled and the texturing applied as originally designed. That’s not to say it’s impossible to texture a mold created without texturing in mind, only that the options are more limited and costly once the mold has been constructed.
So how does texturing work, anyway? Simply put, it often starts with the act of chemical etching the desired pattern directly into the mold cavity. It is also possible to etch the mold cavity via EDM during mold construction, however is not as common and can show variance between EDM machines. There are a variety of standardized finishes that include a natural or geometric pattern, as well a level of polish. The Society of the Plastics Industry, or SPI, establishes these standards for the plastic industry and specifies the following 12 grades of mold finish in four different categories that range from mirror-perfect to dull.
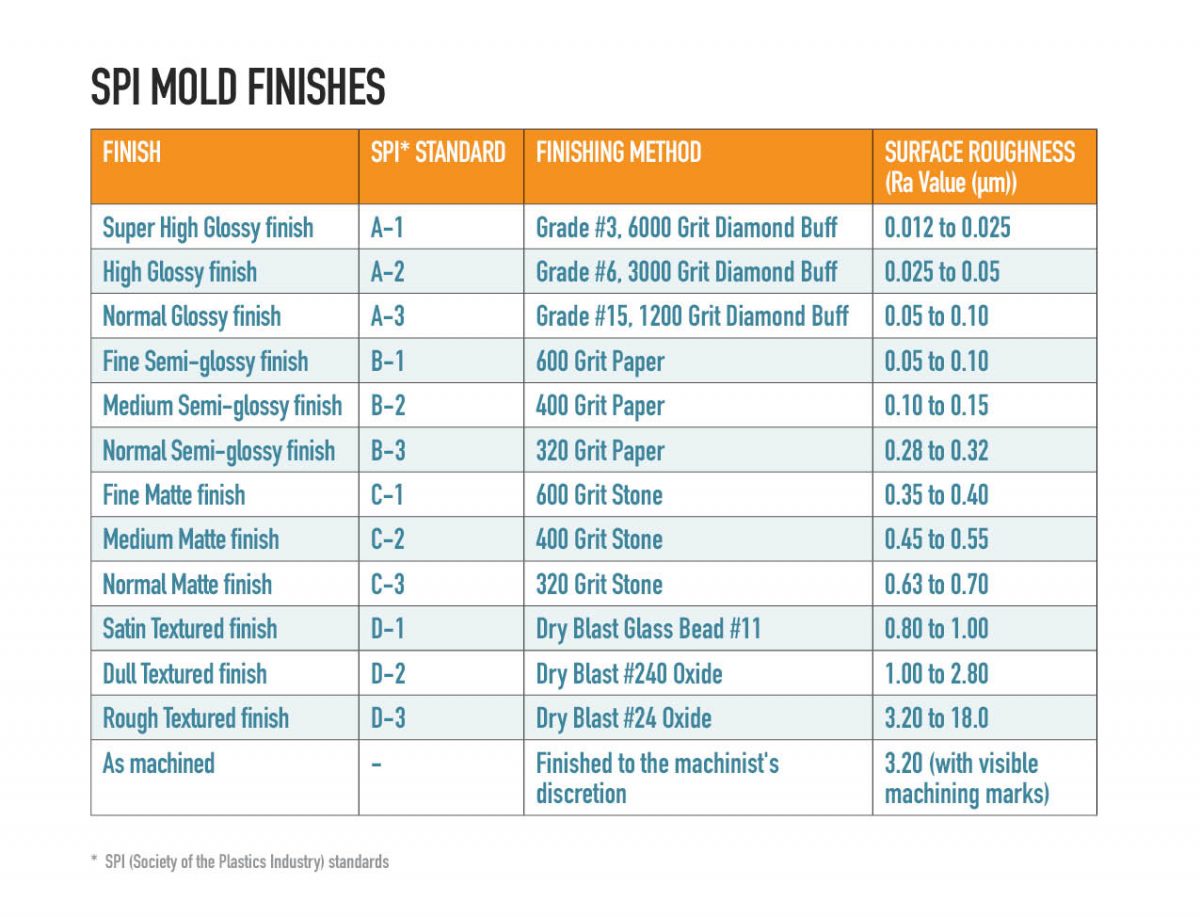
It is important to note that the SPI Mold finish does not produce identical results with all polymers. Material properties play a role, with some polymers better suited than others for the different finish options. Experienced engineers here at Prismier can help you navigate the options to make the right decision for your plastic parts.
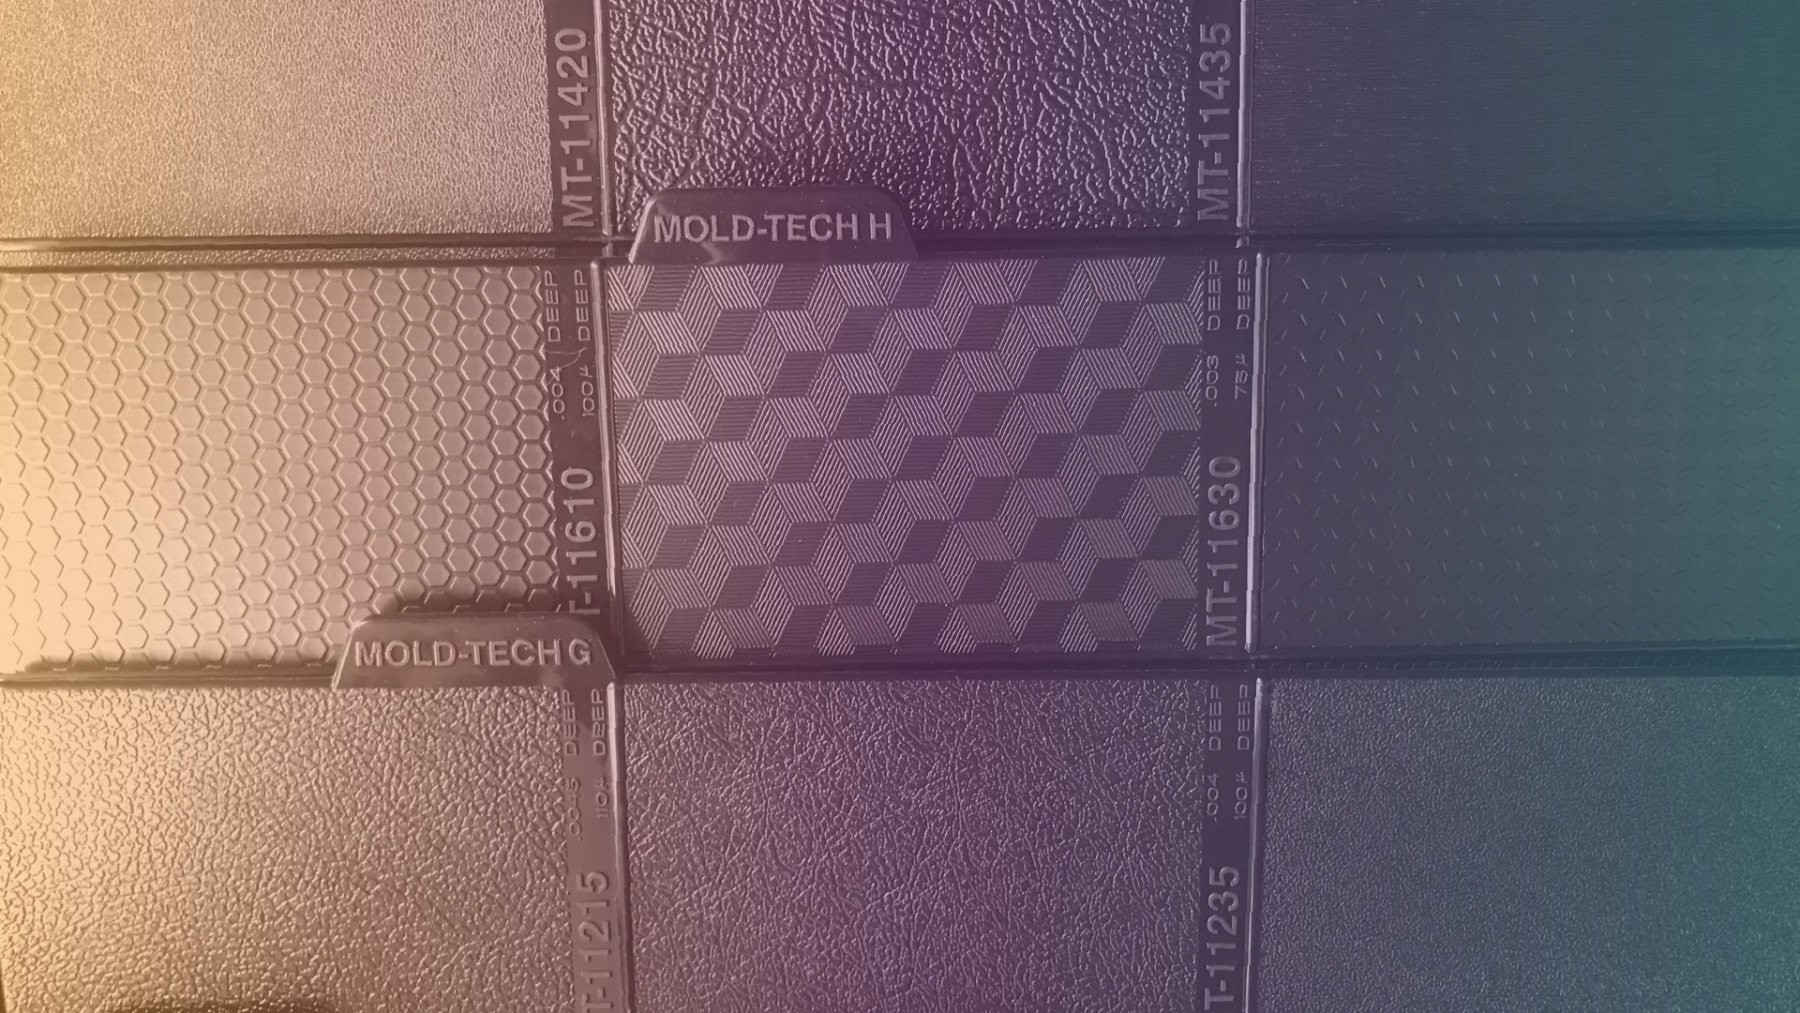
If your parts require more specific or complex textures than those defined by the SPI, there are a couple additional industry standard sources to consider. Mold-Tech, now from Standex, has a library of over 500,000 textures, and the Yick Sang (YS) Texture Book offers 240 texture plaques.
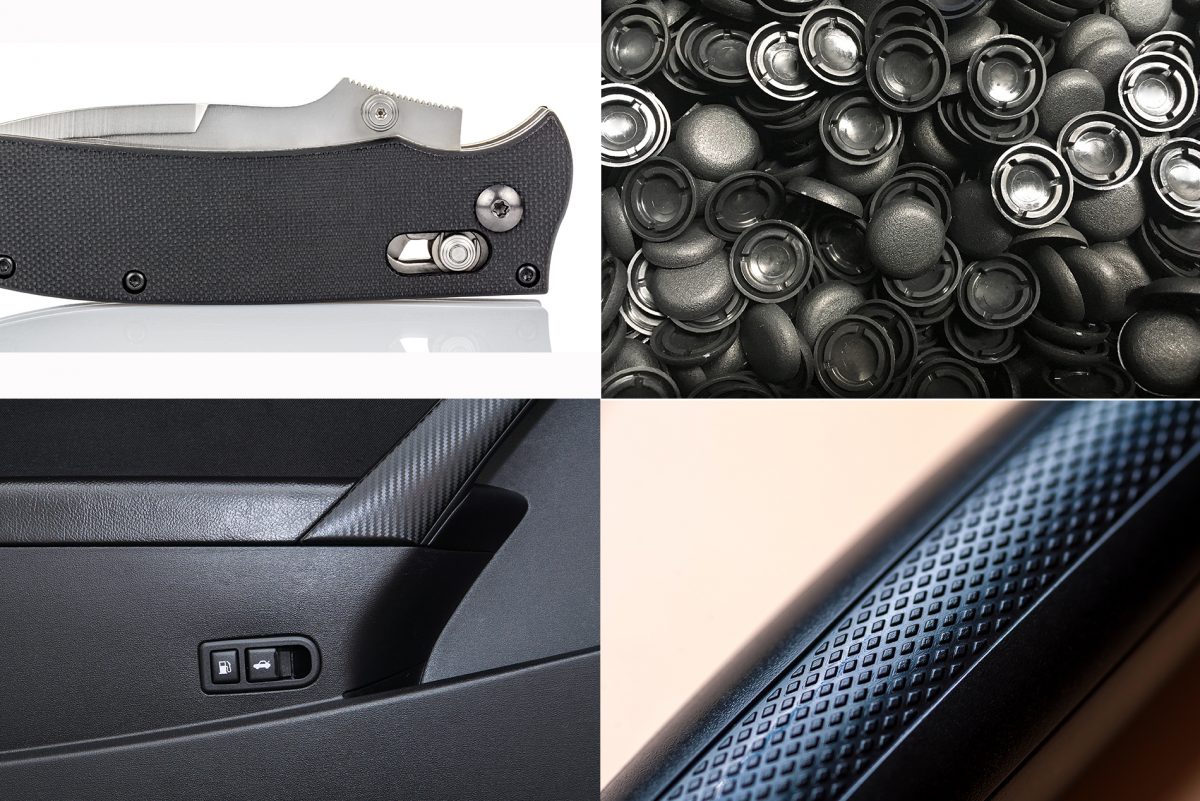
Once the mold is successfully textured, production can begin. Resin is injected into the mold cavity as usual where the finish is replicated on the surface of each part as it hardens. When it emerges, voila, it now contains a mirror image of that mold surface finish. The part has a surface that not only looks nice, but is often far more grippable and nice to the touch. Texturing can be useful to hide imperfections in the part as well as to obscure fingerprints and smudges from use. It can also be used to roughen a surface before overmolding. Overmolding is sometimes perceived as a finishing process, but it’s really a multi-step injection molding process. See our blog “What is Plastic Injection Molding?” to find out more.
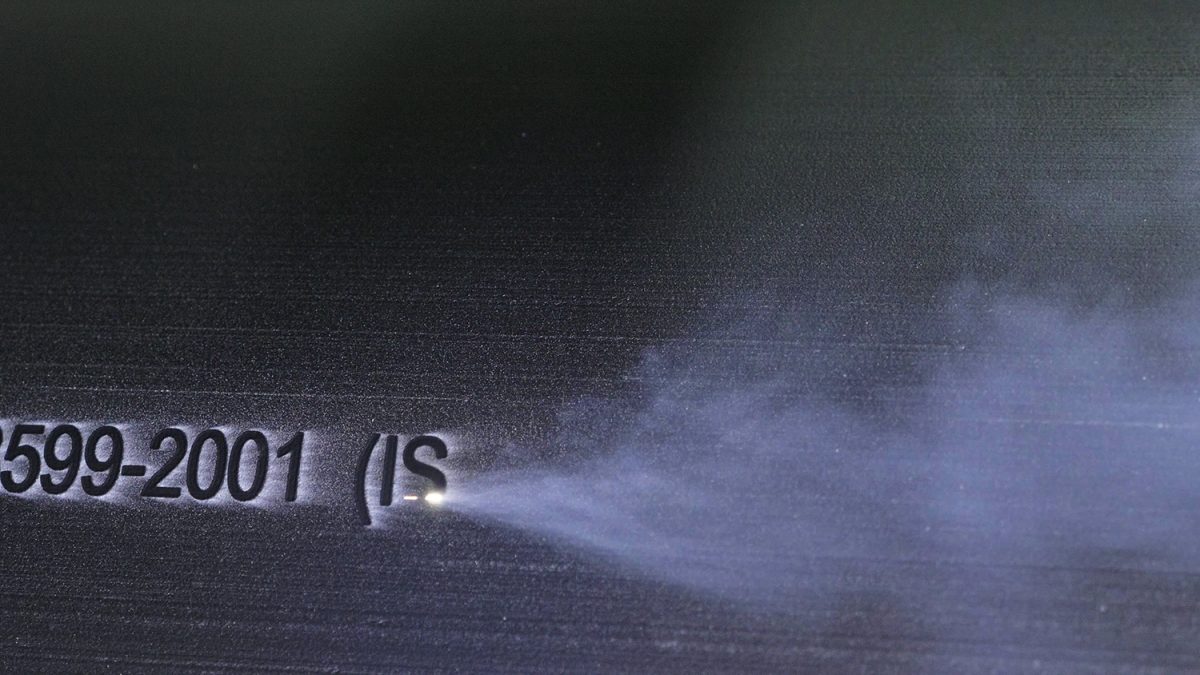
Silk-screening is another part marking option. So is pad printing. If you took a graphics design class in high school or worked on the Team Spirit club printing t-shirts for the marching band, you’re probably familiar with both. Silk screening of plastics isn’t all that different, although it does require the right ink, possibly a chemical priming, and, as with laser marking, will need some sort of basic fixture to hold the parts during processing. Another method of marking is via date code wheels which are installed into the mold and easily set by the operator to indicate day, month, and/or year of manufacture of the part. We’ve got experience with all of these options, and we’re happy to work with you on the details.
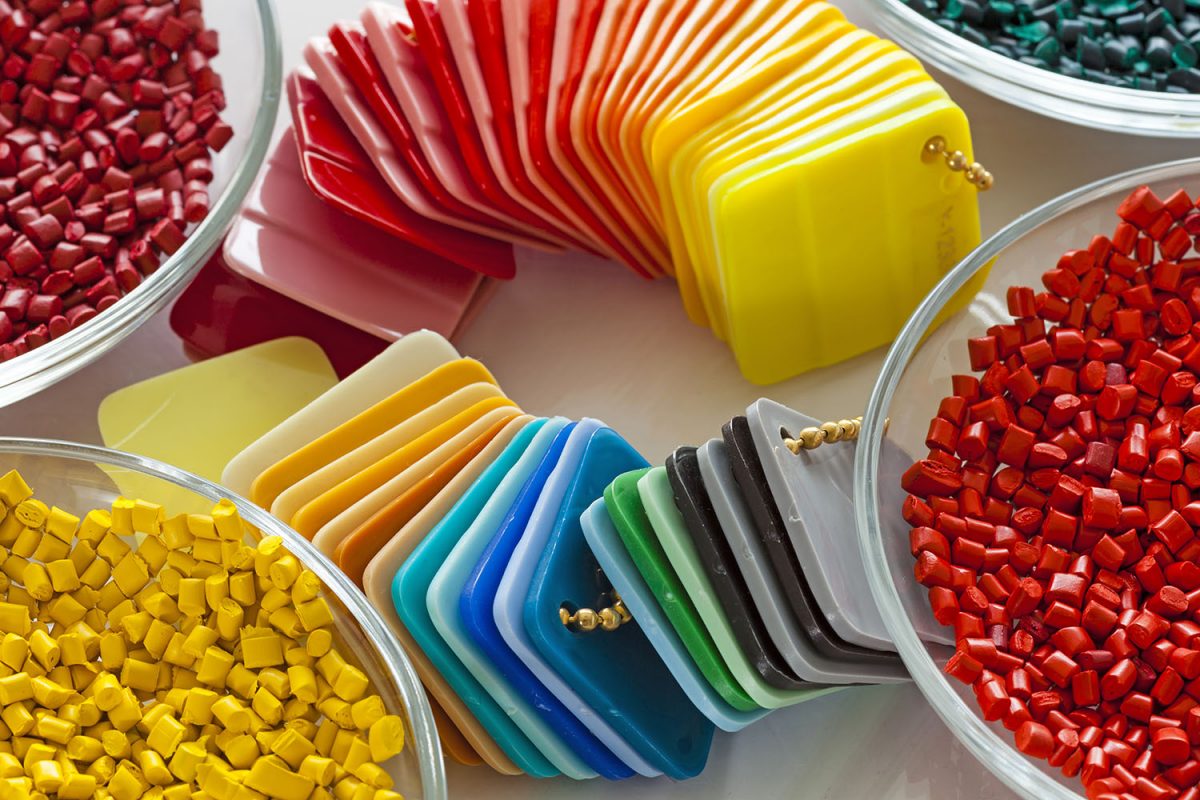
We can even go so far as to color match plastic injection molded parts. Want to make some dark blue whistles and reddish-orange bottle openers to complement your Chicago Bear jerseys? That’s Pantone color PMS 5395 C and PMS 1665 C, respectively, which depending on the type of plastic you’re using (sorry, no black nylon), are easily accommodated. Again, we’ll want to do a sample run for color approval, but this is no big deal.
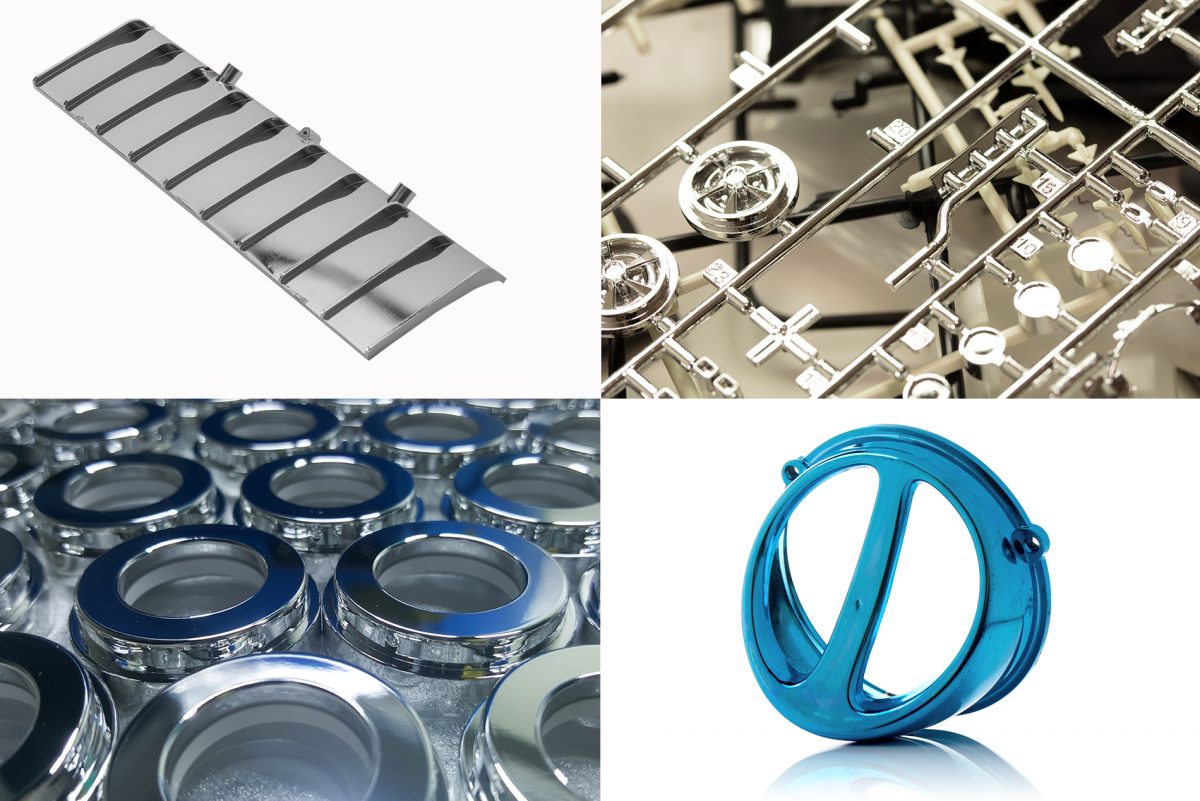
Why do it? One of the most common reasons is to impart electrical conductivity or RF (radio frequency) capabilities to materials that are otherwise neither. Plating is also used to make plastic parts more thermally resistant, to improve wear characteristics, or simply to make them pretty. Another specialized use is to increase reflectivity as is often done in the lighting industry.
Plating plastics is not as easy as plating metals due to several factors. Most importantly, when considering plating polymer parts, only specialized resins should be chosen. Additionally, the surface could require texturing in advance to improve adhesion. Regardless, plating is a common option for many plastic injection molded parts, and we’re happy to discuss the various options on your next project. Ready to make your polymers perform at a higher level? Give us a call.
If you'd like to know more, pick up the phone and call us at (630) 592-4515 or email us at sales@prismier.com. Or if you're ready for a quote, email quotes@prismier.com. We'll be happy to discuss your options.