
Quality
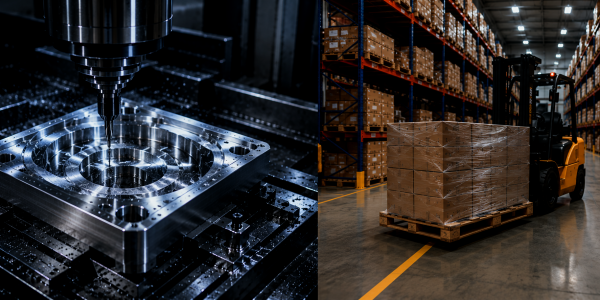
The Swiss Army Knife of Manufacturing
June 22, 2020

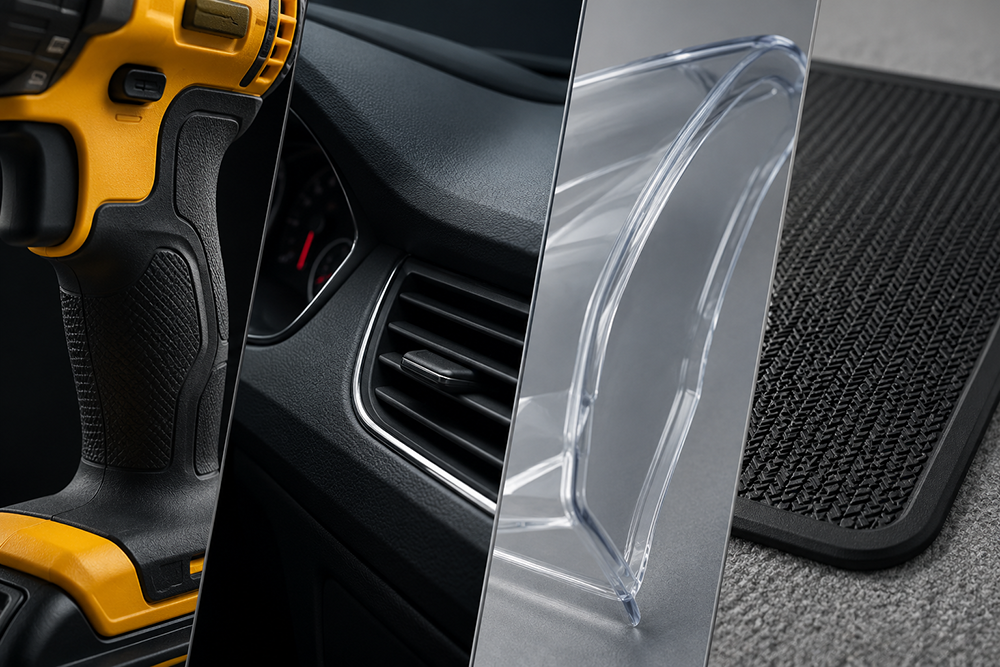
When you pick up a power tool, the confident grip you feel isn’t an accident. When you run your hand over the dashboard of a new car, the perfect feel of the surface is the result of countless hours of planning. The pristine clear texture of a perfectly smooth plastic surface isn’t accidental. And when a mat sits perfectly on the office floor without sliding, it’s because of a functional, almost invisible, design choice.
What do all these examples have in common? They’re all examples of effective plastic texturing.
For product designers and engineers, the texture of a plastic part is one of the final, critical details that separates a good product from a great one. But adding texture to an injection molded part is not as simple as picking a pattern from a catalog.
It’s a highly complex process that balances aesthetic desires, functional requirements, and the hard physics of manufacturing. Get it right, and you create a product that feels intuitive, safe, and premium. Get it wrong, and you’re left with scrapped parts, blown budgets, and a product that looks and feels cheap.
IT’S NOT JUST FOR LOOKS: THE FUNCTION OF TEXTURE
While a beautiful, uniform texture can certainly hide minor imperfections like sink marks or flow lines from the molding process, its most important roles are often functional. Plastic texture is a cornerstone of user experience and safety. For example, texture provides the essential grip on a tool handle that ensures a user’s hand doesn’t slip during a critical operation. Texture can also create a non-slip surface on the bottom of a home appliance, keeping it securely in place. In other cases, a clear or smooth finish may be desirable for products that prioritize easy cleaning, visual clarity, or a sleek aesthetic.
The Unforgiving Law of the Draft Angle
Picture this: an injection mold is typically made of two hardened steel halves. After the plastic part has cooled and solidified, the mold must open, and the part must be ejected smoothly from the two halves. To make this possible, the walls of the part must be designed with a slight taper, which is known as a draft angle. This angle ensures the part can be pushed out of the mold without its surfaces dragging against the steel.
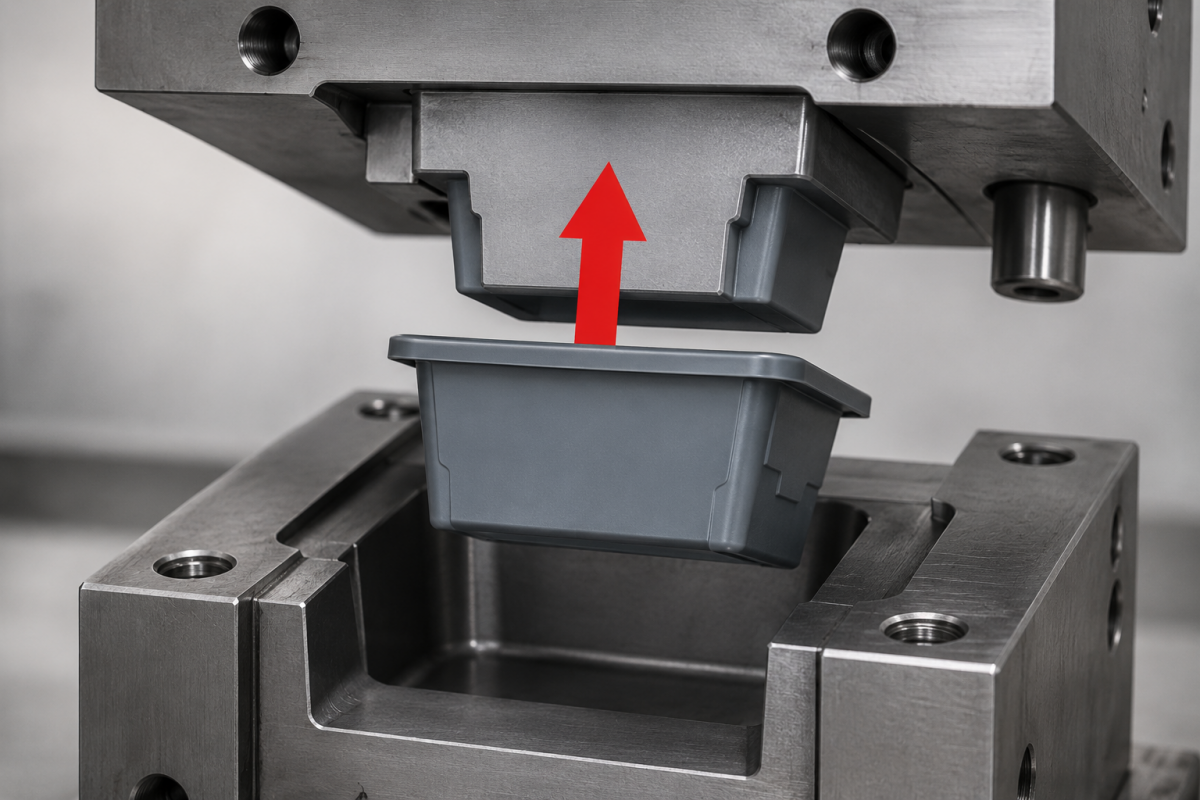
Next, imagine your textured part. Its surface is covered in those tiny mountains we talked about. If that textured surface has to slide or drag against the steel tool during ejection from the mold, the tool will act like a glacier; leveling every single one of those carefully crafted tiny mountains.
The texture will be scraped, smoothed, and ruined.
There is no contest between the texture and the tool. The steel tool will always win.
This is why the ability to add texture is heavily restricted by the part’s draft angles. A general rule of thumb is to add at least 1.5 degrees of draft for every 0.001 inches of texture depth. A more aggressive texture with deeper “valleys” requires a more generous draft angle to ensure a clean release from the mold.
Draft angles force designers and engineers to think about texture from the very beginning of the process. You cannot simply lock in a design and then “add” a texture later. The texture must be appropriate for the draft angles and other design aspects that have already been established.
Too Many Options for Texturing
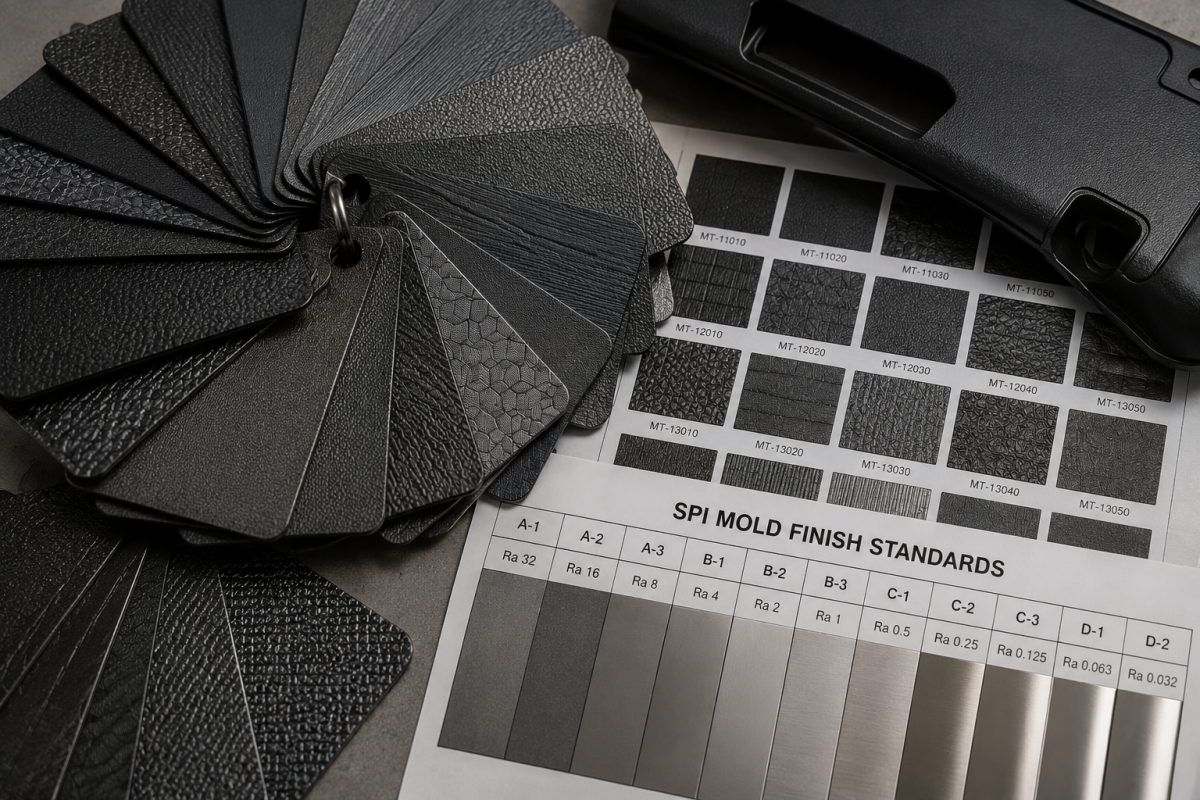
Once you understand the physical constraints, the next hurdle is the overwhelming number of choices. For example, there are over 500,000 (!) textures available from providers like Standex Engraving Mold-Tech (one of the most widely recognized texture standard libraries in the industry), who have options ranging from simple matte finishes to complex geometric patterns, simulated leather, and wood grains.The Society of the Plastics Industry (SPI) also provides standardized grades for mold finishes, which can guide teams toward a desired level of polish or roughness.
It’s also important to remember that the desired surface finish is the exact opposite of bumpy. If a part needs optical clarity… think a lens, a light cover, or a clear display window… a rougher texture can do more harm than good.
Even tiny surface imperfections can create haze, distortion, or a blurry view through the part. In these cases, the goal isn’t to create “mini mountains.” It’s to create a surface so smooth and polished that light can pass through it cleanly. That’s where a finish like SPI-A1 or A2 becomes important. For engineers, that means surface finish decisions are not just about cosmetics or grip; they also have to account for optical performance, and that needs to be part of the conversation early when deciding what finish will actually work for the product.
With so many options, design teams can spend too much time debating the subtle differences between dozens of near-identical textures; this is especially true for brand-new products. Even if a company has a library of previously approved texture specifications, a new product often has unique functional requirements, part geometries, or is made from a different polymer. Each of these variables can dramatically affect how a texture feels and performs, forcing the team to explore all the options from scratch to find the perfect fit.
But let’s be real, the material itself plays a huge role. On the one side, softer polymers like TPE can reproduce a texture with a supple, grippy feel. On the other end of the spectrum, a hard, rigid polymer like polycarbonate will feel completely different, even with the exact same mold texture.
This interplay between material, geometry, and texture is what makes the selection process so time-consuming and complex.
The reality is that material selection often defines how a product is perceived. Camera manufacturers have proven this in the DSLR world: two bodies can share the same sensor resolution and feature set, but the choice of grip texture, rubberized coating, and tactile finish is a big part of what separates an iconic shooter (like a Canon 5D, Nikon D850, or Sony A7) from a cheap rebranded knockoff.
The deeply textured, soft-touch grip on these cameras also isn’t just cosmetic; it helps communicate control, confidence, and professional intent the moment a photographer picks one up. The right textured grip is somehow pleasant to touch, while also giving the photographer deep confidence that they won’t drop the camera. Nailing those important textured plastic surface details also allows manufacturers to charge a premium for their product; ultimately making their business more profitable and sustainable.
Manufacturing Simplified: Lean on Your Partner
Here’s the good news: instead of navigating the endless labyrinth of texture options alone, you can lean on the expertise of a team that has already been down this road hundreds of times before. Here at Prismier, we see this as a core part of our mission: Manufacturing Simplified.
When a customer comes to us with a part that needs texturing, we don’t just ask, “which pattern do you want?” We start a conversation. We ask about the product’s end-use, the user it’s intended for, and the environment it will live in. We draw on years of experience across countless industries… from medical devices to consumer electronics to automotive components…to narrow down the options based on what has successfully worked for similar use cases.
We understand that you’re not just making a part; you’re building a product. You’re creating an experience for your customer. The texture is a silent, yet powerful, part of that experience. By bridging the gap between your design intent and the physical realities of the manufacturing floor, Prismier helps you get it right the first time. We own the process from start to finish, so you can have confidence that your vision will be realized, down to the last microscopic “mini mountain” detail.
So hey, are you ready to nail the texture on your next project? Let’s talk. Our team is ready to help you navigate the complexities and deliver a product that feels as good as it looks.
If you'd like to know more, pick up the phone and call us at (630) 592-4515 or email us at info@prismier.com.