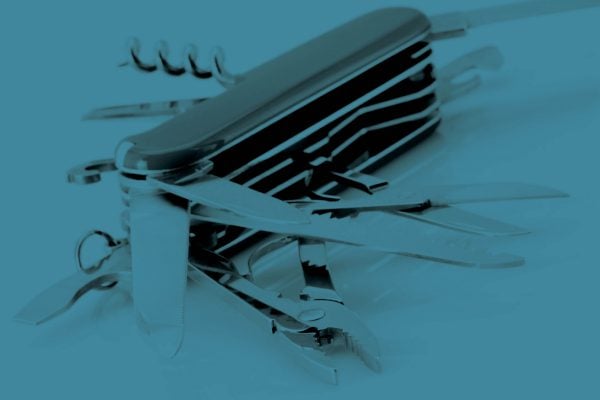
Finishing Friday: Oh, Those Pesky Burrs
Various,Sanding,Flap,Wheel,With,Rope,Abrasive,Disc,Tools,For
Finishing

Finishing Friday: Oh, Those Pesky Burrs

August 19, 2022

Burrs and sharp edges are unwanted but unavoidable side effects caused by many common manufacturing processes. Sharp edges, as you could probably guess, are the borders of any cut regions, and even when they may not appear to be very sharp, they can actually be razor sharp. Burrs are also sharp, but rather than the edge itself, they are little spikes or protrusions sticking up from the cut edge.

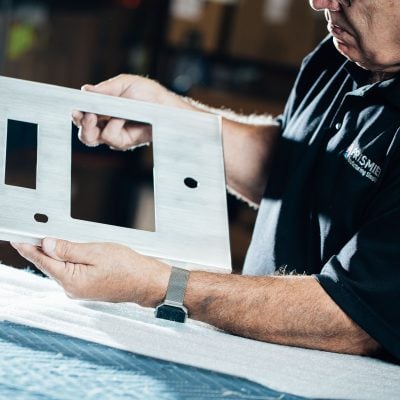
More than just unwanted, burrs and sharp edges are serious safety hazards that must be removed, or deburred, for a number of reasons. First and foremost, they are dangerous to people and other objects. They can quickly and quietly cut hands or any skin with which they come into contact. No one wants to create parts that cause injury, whether it’s to workers, customers, or anyone else. They can also damage adjacent objects. Second, they interfere with other finishing steps such as powder coating, paining, or plating. Your finished parts will have a much higher quality finish when deburred first. Finally, they can potentially affect fit and functionality by interfering with the mechanics of the part in a final assembly. Deburring is essential to ensure your parts can be properly assembled and your product function the way it was designed.

Deburring-collage2
There’s a wide array of abrasive pads, sanding flap discs and belts, and hand tools to choose from for manual deburring, one of the most commonly used and low-cost deburring options in prototype and lower volume situations.

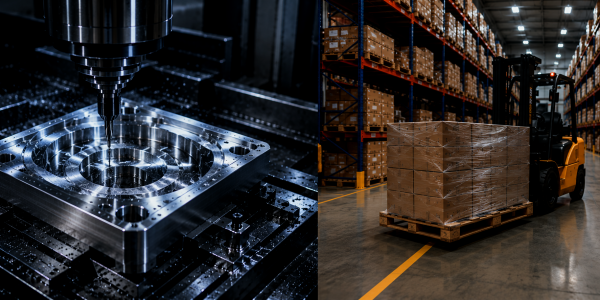
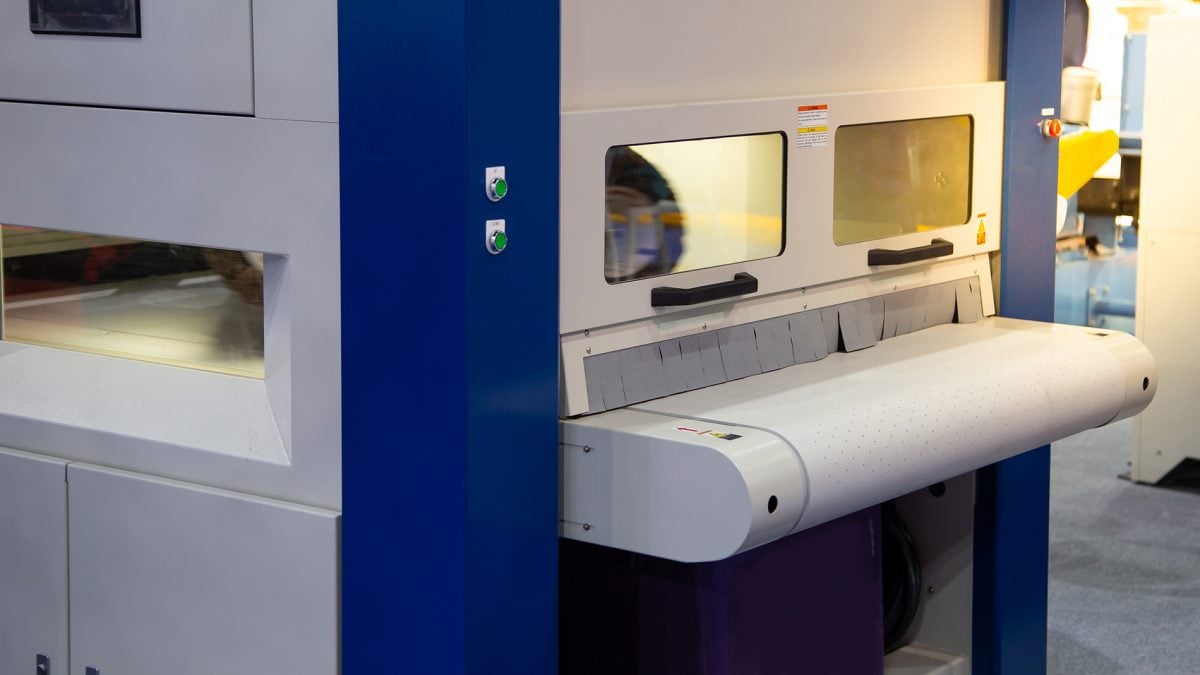
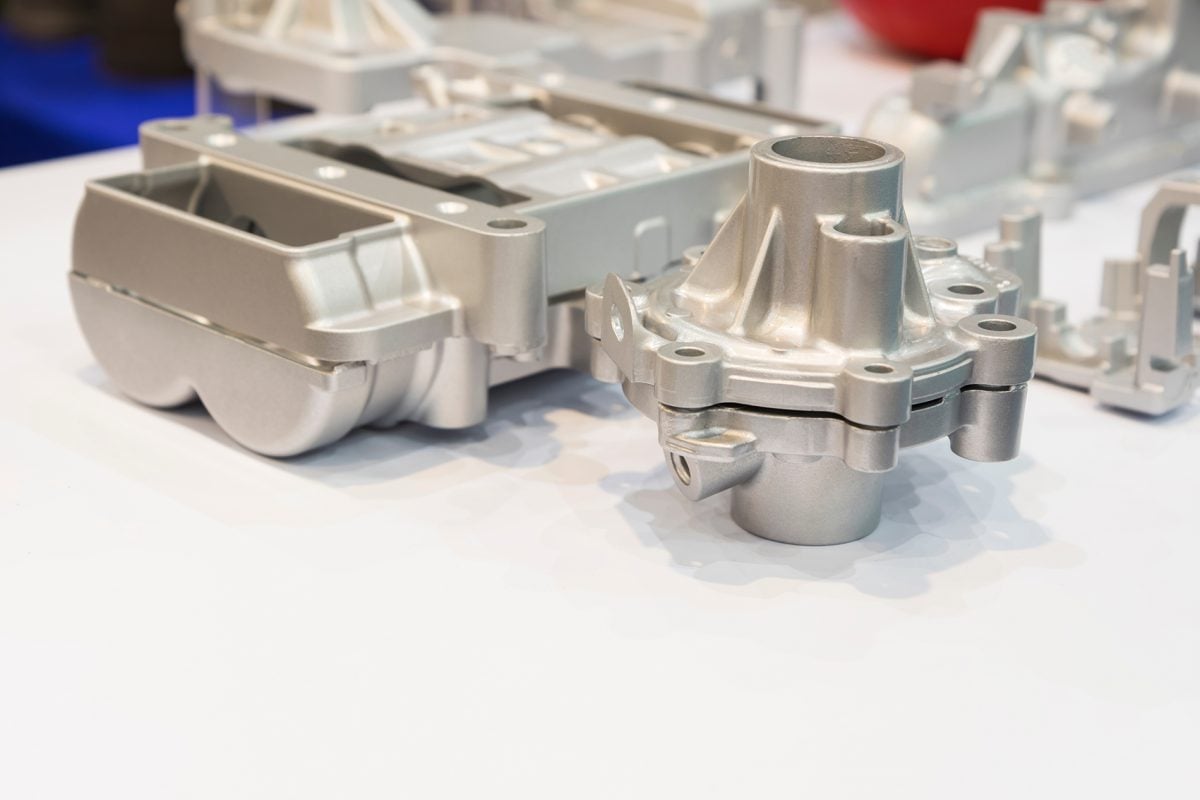
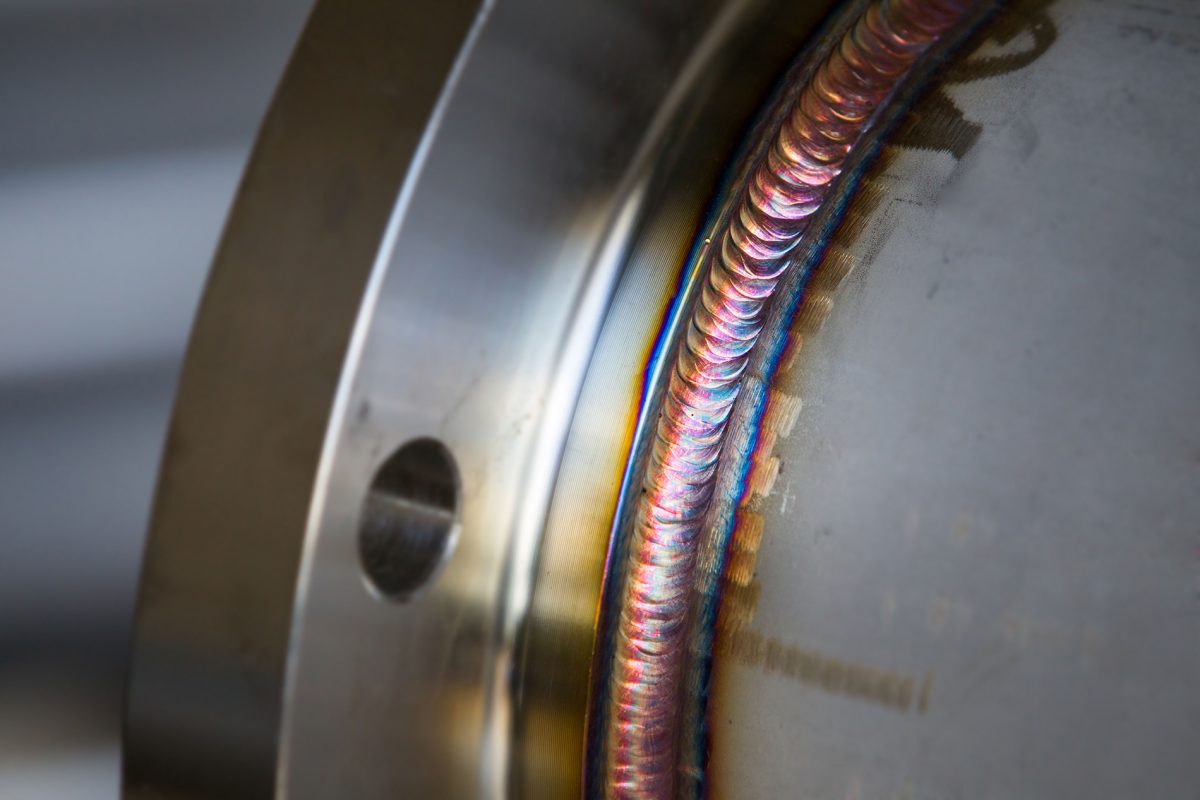
Now that you understand why deburring is important, let’s look at some of the common manufacturing processes that require this crucial task. Metalworking processes such as stamping, punching, machining, and laser cutting require this finishing step to clean up the inevitable burrs and sharp edges left behind. While welding doesn’t leave a burr, the joined edge typically requires some cleanup afterward. Heck, even 3D-printed parts need some loving attention once they’ve left the build platform.

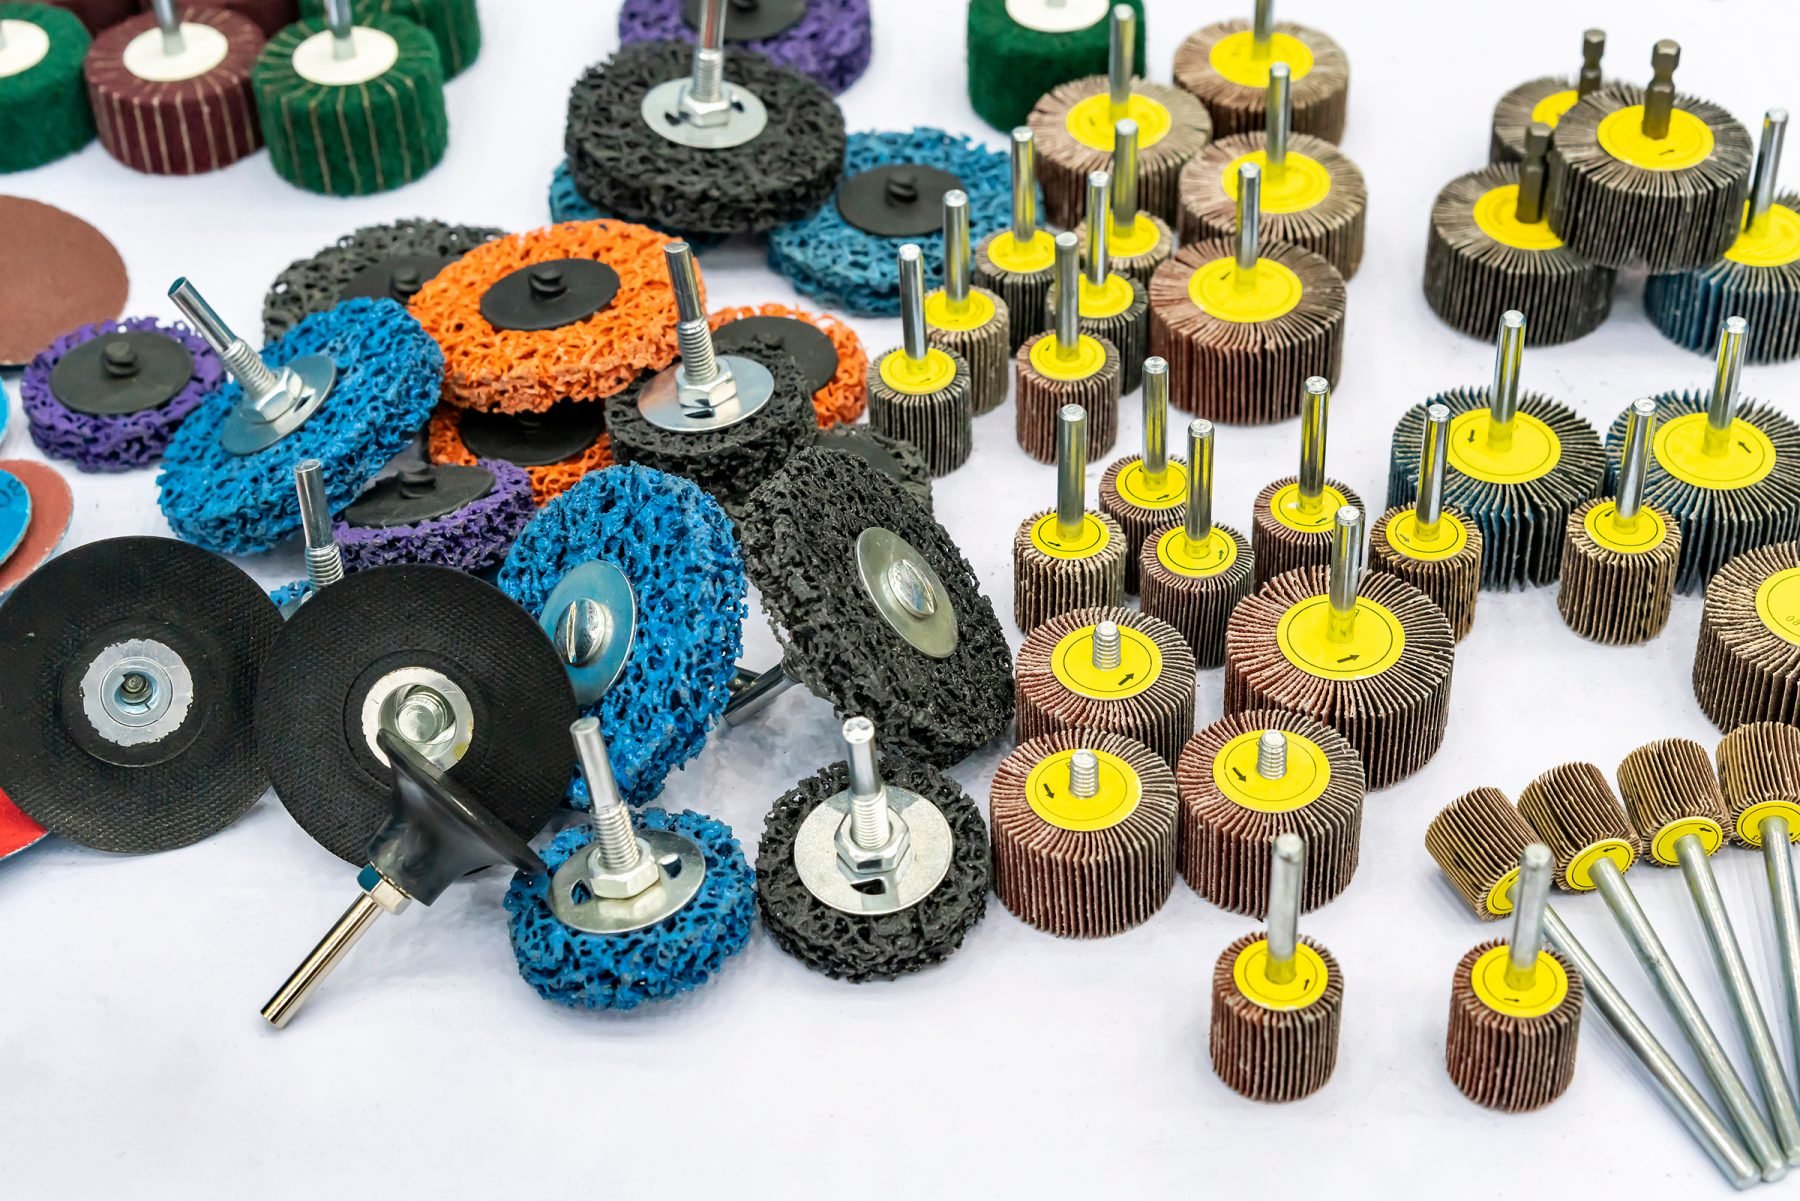
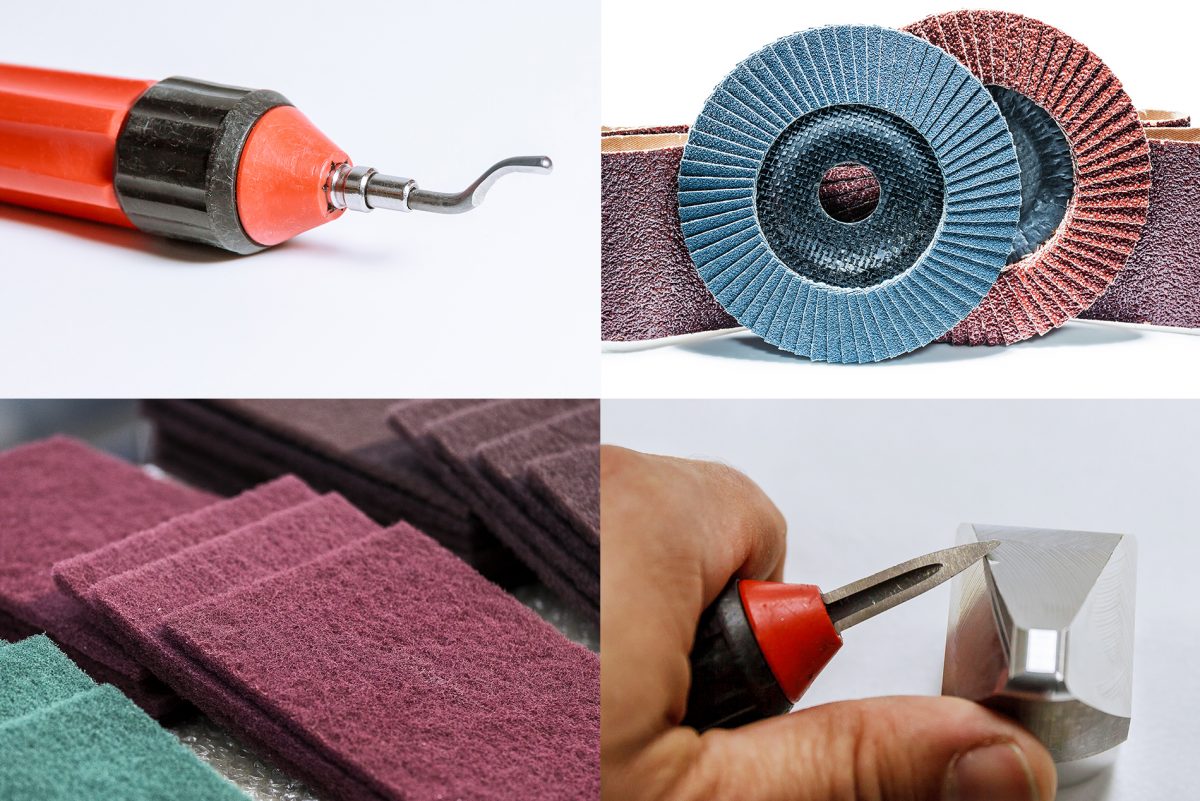
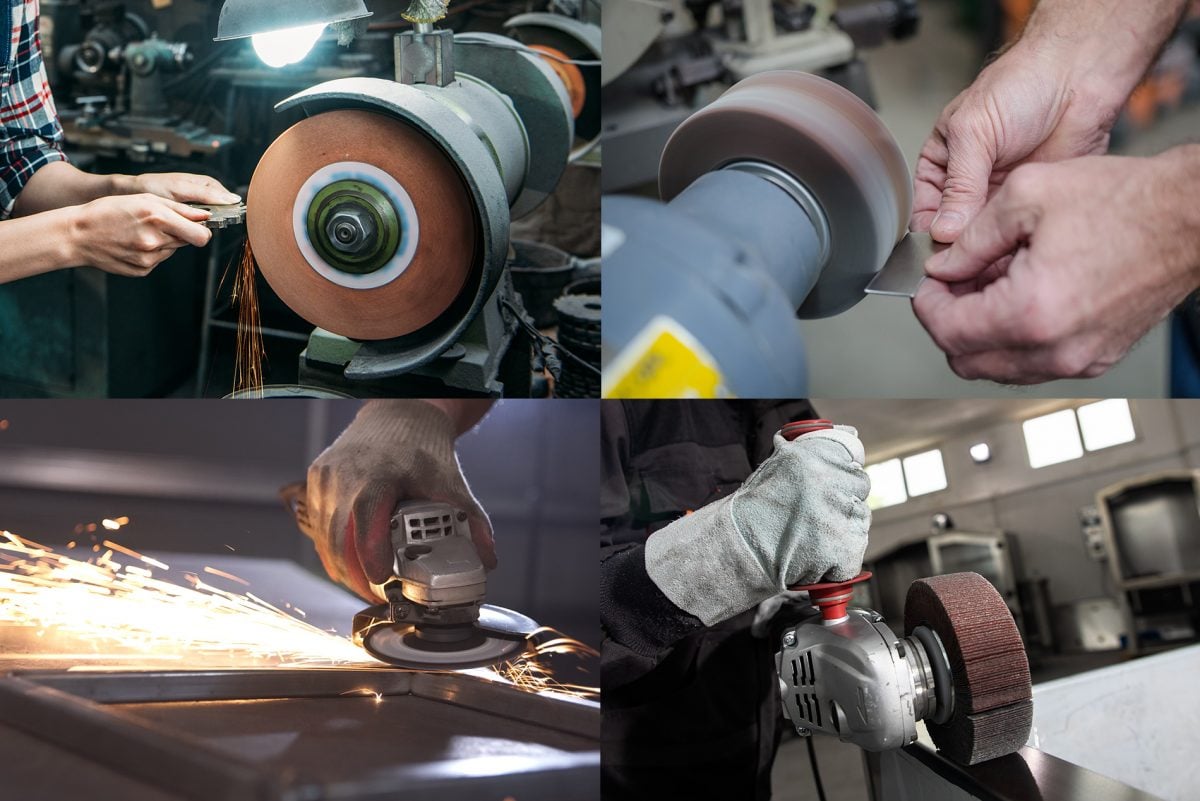
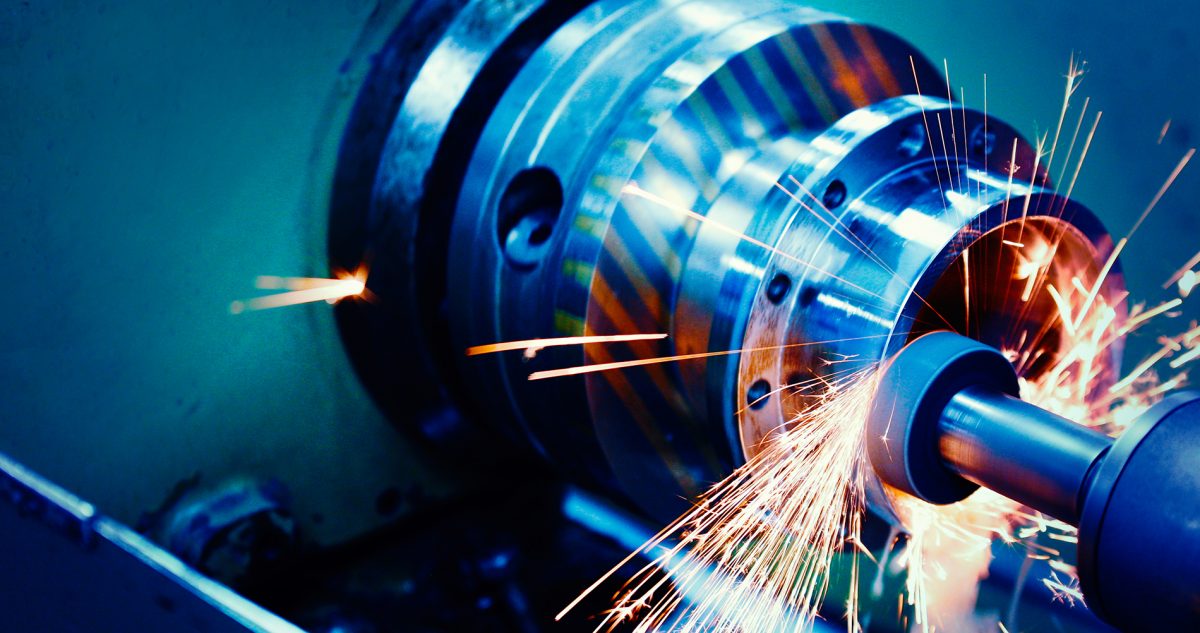
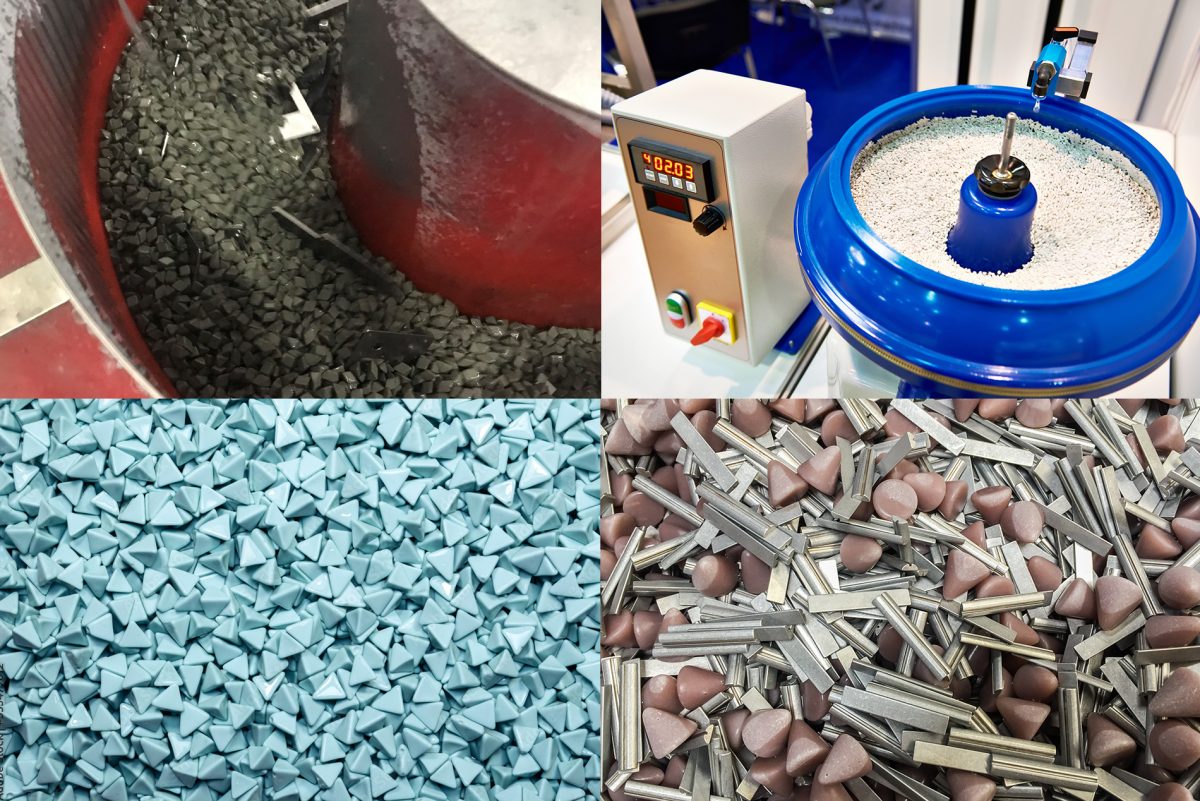
Fortunately, there’s no shortage of ways to remove sharp edges and make precision parts safe, smooth, and beautiful. Whether it’s hitting them with sandpaper, blasting them with dry ice, or hooking them up to a million-dollar machine that shoves pressurized abrasive goo through a workpiece’s interior nooks and crannies, smoothing them as it passes, manufacturers have plenty of options. We’ll address many of the options available to you, depending on your material, production volume, and budget, as well as size and location of the burrs and sharp edges, so you can decide which process or processes are suitable for your project. Here goes:

GIVE ME A HAND


Ever wonder what machinists do with all their spare time while the CNC lathe or machining center is busy making parts? No need to wonder. When not scrambling to keep several other machines running, they’ll typically be deburring those parts by hand. For example, tracing a figure-eight pattern across a sheet of #120 grit sandpaper attached to a flat metal plate generates a lovely crosshatch pattern on a part face. A soft abrasive wheel mounted to a pedestal grinder might be used to smooth sharp edges on flat or orthogonal milled parts, whereas abrasive pads (you might know them as Scotch-Brite) are often applied to smooth turned parts on an auxiliary lathe. Drill presses with 45-degree chamfer tools (also known as a countersink tool) do a nice job on drilled holes and special “lollypop” cutters clean up hole intersections deep inside parts, as do so-called clothespin cutters, Orbitools, and wire brushes. Lastly, all machinists have one or more of those plastic-handled Noga-style deburring tools in their toolbox or even a sharpened triangular file to scrape sharp edges clean. While manual deburring is generally not suitable for high-volume runs, it remains one of the most commonly used and low-cost options in prototype and lower volume situations.

Deburring-collage3
Deburring and preparing metal surfaces for paint and powder coat requires great skill, patience, and the right abrasives.

MACHINIST ASSIST


Except for abrasive processes (because of the grit), many of these deburring operations can be done on the CNC during the machining process. Though, there are even some advanced technologies with CNC that do allow abrasive grit to be used along with specialty filtration devices. Some remaining exceptions to CNC deburring might be the cutoff end of a turned part made on a bar feed-equipped lathe or the bottom side of a milled workpiece where the cutter can’t reach. However, buzzing a tiny chamfer or radius tool around a part periphery takes time, as does slowing the cutting tool enough to provide a very smooth surface finish, and as all of us know quite well, time means money. This is why some shops opt to make their deburring and other finishing needs into secondary operations as just described, while some assign them to a robot (a growing trend given the skilled labor shortage) or use one of the mass finishing technologies we’re about to explain.

Machine,Tool,In,Metal,Factory,With,Drilling,Cnc,Machines
Abrasive grit will damage most CNC machine tools. This one was modified with a special filtration device.

SAVING TIME


Anyone who’s seen a vintage automobile being restored has likely seen an orbital sander and coarse abrasive disc being used to strip away the old paint, followed by progressively finer grades of grit to arrive at a smooth, paintable surface on the metal beneath. A similar, albeit far faster process is possible for flat parts via machines known as stroke sanders, straightliners and/or Timesavers, the latter a well-known provider of such equipment. Whatever the brand, these machines are used after laser cutting, shearing, or punching. The latter is equipped with a series of rotating abrasive brushes that move over a conveyor-fed workpiece, rounding the edges and eliminating any burrs as they go. Likewise, a straightlining machine uses a wide abrasive belt that passes over the part and, as its name implies, leaves behind a lined, grain-like surface like that seen on some high-end consumer appliances such as refrigerators and stoves. There are some machines that combine both of these technologies, merging those 2 steps into just 1. Coarse to fine grades of abrasive are possible—a #4 grain, or satin finish, is common—and either process is an excellent way to generate a smooth, decorative, fingerprint-resistant surface or one that’s suitable for painting or powder coating (check out our Finishing Friday: A Primer on Paint and Powder Coat blog for more information).

Deburring,Metal,Sharp,Edge,And,Rounding,Machine.,Industrial,Manufacturer,Machinery
This machine is equipped with a series of rotating abrasive brushes that move over a conveyor-fed workpiece, rounding the edges and eliminating any burrs as the parts go by.

TAKE A TUMBLE


Some of you might recall the Skilcraft electric rock tumbler, “Guaranteed to Convert Rough Rock into Sparkling Gemstones,” so you’ll grasp this one right away. For smallish (say coffee cup-size and below) machined, stamped, and cast metal components, vibratory deburring or tumbling is a great way to deburr large quantities of parts quickly. Three distinct methods exist. The first works much like that old Skilcraft—dump everything into a rubber-lined steel barrel, add some tumbling media, a little detergent and water, then seal it up and set it spinning on a pair of motor-driven rollers. Some equipment manufacturers have taken this concept one step further by mounting multiple spinning drums in a large counter-rotating barrel, therefore increasing the centrifugal force and resulting abrasive action. Others use an open container that vibrates like crazy, hence the name vibratory deburring. Whatever the method, each process uses tumbling media shaped like triangles, cones, rods, and pyramids. These are usually made of ceramic, but plastic, steel, and many others are available. Which one to use is based on the material hardness, productivity needs and cost, part geometry and the size of its nooks and crannies.

Deburring-collage8
In vibratory deburring, the tub or tumbler is filled with larger shaped media such as crushed walnut shells, small glass or ceramic balls or cones, or metal shot, possibly a fluid such as water or special chemicals, and finally the parts to be deburred.

BLAST OFF!


Sometimes, abrasive media is fired through a gun using compressed air. This is often called sandblasting (even though there’s no sand involved) or, more accurately, bead blasting. It’s typically done in an enclosed cabinet—an operator opens the door and sets the parts inside, then sticks his or her hands into a set of rubber gloves in the front of the machine, grabs the gun, and starts blasting. As the media strikes the part, it removes paint and metalworking contaminants while smoothing the surface. More sophisticated systems use robots or other mechanical devices to move the gun around the part (and vice-versa), while larger bead blasting units might consume an entire room or be used outdoors, as in the cleaning of seagoing vessel hulls. However, none of these systems use the larger shaped media found in vibratory deburring. Crushed walnut is a possibility, as are small glass or ceramic balls, metal shot, and sometimes even dry ice for very delicate parts. A similar though unrelated process—shot peening—fires BB-sized metal shot at a workpiece. This creates a compressive stress layer on its surface, improving its metallurgical characteristics in much the same manner as ancient craftsmen whacking away at swords and armor with a ball-peen hammer.

Human,Hands,With,Protective,Gloves,In,Sandblasting,Chamber,Holding,A
Although there’s no choice for large assemblies but to bead blast them outdoors, much of it on smaller parts and assemblies is done in dedicated cabinets or rooms.

CHARGE ‘ER UP


The same phenomenon that powers the electrical discharge machining (EDM) equipment found in any mold making or tool and die shop is also found in some deburring departments. Well, sort of the same. Where EDM blasts away microscopic bits of metal by applying rapid bursts of electrical charge to a copper or graphite electrode, electrochemical deburring (ECD) needs a chemical assist in the form of an electrolytic fluid. Scientists call this “anodic metal dissolution.” It’s a gentler process than EDM, although it too requires a negatively charged electrode (the cathode) that’s shaped like the workpiece. This serves to erode metal burrs and smooth the positively charged workpiece (the anode) as the electrolyte flows past. At first glance, ECD sounds like an improbable process but is a widely accepted and mature technology employed by the aerospace, automotive, medical industries and more. And for you manufacturing geeks out there, be aware that ECD can be taken to the next logical step—electrochemical machining (ECM), as its name implies, actually machines parts rather than just deburring them (and quite effectively, besides). Think of it as “sparkless” EDM.

JUST A QUICK TRIM AROUND THE EDGES


Speaking of tooling, anyone looking at high volumes of die-cast parts (which is pretty much all die-cast parts) should know about trim dies. These are tools used to shear away the flash and other ugliness from around the parting line of a cast component. It works by setting the casting into the bottom part of the die, which is mounted to the bed of a stamping press. As you might expect, the top half of the die sits above and contains a female version of the workpiece exterior that’s been wire EDMed just slightly larger than the part. As the ram comes down, it shears away the excess metal, leaving behind a finish that is often smooth enough as is—if not, a trip to the tumbler will correct that. The same die might also contain a series of pins to “pierce” the die casting for mounting holes and other features that could not be created during the casting process.

Aluminium,Die,Casting,Products,Made,From,High,Pressure,Injection,Machine
The parting line flash on these die cast parts has already been removed, most likely using a trim die.

CHANGING CURRENTS


Another technology that sounds improbable and bears some similarities to ECD and ECM is electropolishing (sorry, no acronym here). Many refer to it as “reverse plating,” in that it removes tiny amounts of material from the workpiece rather than adding to it like chrome and anodize. The similarities come from the use of an electrolyte, anodes, and cathodes, but the latter in this case is a simple metal rod, just like plating. As current flows from the anode (the part) to the cathode (a stainless steel or zirconium bar), a thin layer of metal ions on the part surface dissolves into the electrolyte, removing the high points found on most machined or stamped points as well as any impurities, and “polishing” the surface. Electropolishing works very well on aluminum, brass, carbon steels, nickel alloys, and a few other metals, but steer clear of it when using alloys with high amounts of silicon (some aluminum alloys), sulfur or carbon (some steels).

HEY, WHAT ABOUT PASSIVATING?


Regular readers of The Manufacturing Simplified Blog might have picked up on the “impurities” word just now and started to wonder about the differences between electropolishing and passivating, a type of conversion coating. Good question, but one with a long, technical answer. Simply put, both remove impurities from a part’s surface, and both are used by medical and aerospace manufacturers in particular to make parts ultra clean. That said, passivating is a non-electrical process. It relies on citric or nitric acid in a heated bath to clean parts and remove metal oxides, but it does not make them shiny. Think of it as a vacuum cleaner on dirty carpet, with electropolishing more of a steam cleaner. It’s for this reason that some manufacturers require that both processes be used on their machined parts—one for a deep clean, the other for a quick vacuum before company arrives. For a longer read on conversion coating, check out our blog, Finishing Friday: Conversion Coating.

UNDER PRESSURE


Imagine trying to deburr the inside of a large hydraulic manifold, or maybe an engine block by hand. Unless you have an array of dental tools and super contortionist skills, not likely. Fortunately, there’s a process called abrasive flow machining, or AFM, which we alluded to at the start of the blog post. It uses a high-pressure pump to force an abrasive, putty-like media through (or even around) a workpiece, removing burrs and smoothing surfaces as it goes. It’s a niche but important process, as is another that falls into the “are you serious” category: that same manifold or block can be placed into a heavy-walled chamber that is then filled with an exact amount of natural gas and oxygen before igniting this volatile mix. BOOM! Thermal deburring (or TEM, for thermal energy method) burns away burrs predictably and accurately in an instant. Coincidentally, a similar technology—explosive forming—is used to produce rocket nozzles by placing a metal plate over a female die, filling the tank with water, then setting off an explosive charge, thus shaping the workpiece.

NICE JOINT


We promised to cover weld grinding and polishing, and we meant it. Here again, though, there’s a great deal to this everyday process, so here’s the abbreviated version. There are varying requirements when it comes to weld and grind. If the part is not cosmetic, the weld can be left unfinished. But, for cosmetic components and/or those which require painting or plating, the weld may need to be fully flush with the finished workpiece. For these more finished assemblies, once the product is welded, the top of the weld bead is typically smoothed with a moderately coarse abrasive disc, which is generally true for all material thicknesses. This step is critical and may require multiple passes with progressively finer abrasives to achieve the desired surface finish, not excluding the use of a buffing wheel at the end. As noted, there’s a fair amount of science behind what might look like a simple manufacturing process, so be sure to check with Prismier if you have questions during part design.

Steel,Weld,Joined,Pipe,To,Plate,By,Arc,Welding,Process
Here’s a cosmetically acceptable weld. Depending on the application, some shops might choose to leave it unfinished, while others will spend no small amount of time grinding the weld bead flush with the finished workpiece.

PRETTY BUT PRINTED


Everyone in manufacturing has at least heard of 3D printing, and many are using it every day. Aficionados will tell you, however, that additive manufacturing (AM) has a dirty little secret—most of the seven different technologies make parts that are…well, unsightly, to put it kindly. Fortunately, there are some great ways to address this problem. For metal 3D-printed parts, tumbling or bead blasting is usually the way to go, along with some machining of critical part features. Plastic parts, on the other hand, have their very own finishing process. It’s called vapor polishing, and while it’s been around a while, the industry has developed all manner of equipment to meet the growing 3D printing market. It works by sticking the parts in a sealed tank and then subjecting them to vapors from heated solvent. It does not remove large ugly spots, which might need to be machined, but is quite effective at smoothing the “stairstep” effect seen on most 3D printed components. One word of warning, however. The process is somewhat hazardous and should only be performed by qualified companies using specialty equipment. Also, vapor polishing can damage parts left in the tank for too long, quite literally melting them into a pile of goo. The moral of the story: it’s a great and necessary technology, but be careful when selecting your provider.

Deburring-collage10
Look closely and you’ll see the stairstep finish common to most 3D printed parts. Vapor smoothing eliminates this and makes parts appear as though they were injection molded.

THAT’S A WRAP


That was a lot. Just as there are many ways to transform metal and plastic into functional items, there are also many ways to make them less sharp and much more aesthetic. I think we covered all of them, but drop us a line if we missed something. And if you need some help determining which one is right for your project, you know where to find us. We hate burrs (but love shiny, accurate parts).

If you'd like to know more, pick up the phone and call us at (630) 592-4515 or email us at sales@prismier.com. Or if you're ready for a quote, email quotes@prismier.com. We'll be happy to discuss your options.